Total War: WARHAMMER Assembly Kit Terry Quick Start Guide
Initial Set Up
Getting the Assembly Kit
The Terry Editor is compiled in with the Assembly Kit tools which can be downloaded from the Steam Tools page. To reach this:
• Open Steam
• Go to LIBRARY
• Select ‘Tools’ from the Drop-down
• Search for ‘Warhammer Assembly Kit’
• Install the software
If you’re already got the Assembly Kit installed, you’ll just need it to update to get these changes.
Launching Terry
Once you’ve downloaded the Assembly Kit, simply double-click its record in your steam list to launch, making sure you select TWeak (Battle Editor) in the options.

Creating a Level
Loading a Map
The default view of the Project Wizard is the open dialogue. In this space you are presented with a list of your recently opened maps.

Selecting any of these maps and pressing the Open button will open that map.
Creating a new map
On the Project Wizard screen select ‘New’ on the left.

Select your vista (you can change this later)

Click ‘OK’ to create the map.
If you’re familiar enough with the process, you can disable the Project Wizard by un-ticking the ‘Show on startup’ check-box in the Project Wizard dialogue. If you ever want to use the Project Wizard again, or it’s not appearing for you it can be found under ‘File > Project Wizard…’
The Editor Interface
The Editor is divided into a number of draggable and dockable windows which are highly customisable.

1. The Scene Hierarchy View – Stores all the objects in the current map
2. The Entity Properties Window – Shows the properties of any selected entities in the scene
3. Map Properties – Shows the current map properties
4. Window Tabs – Windows can be docked together and tabbed between
5. The Viewport – The 3D representation of the battle
6. The File Menu
7. Tabbed Toolbars
Opening Toolbars
To open a toolbar, go to the File Menu and select View -> Toolbar

Selecting any of these toolbar options will cause them to toggle. You can also bring up the toolbar menu by Right-Clicking on any open toolbar. All tools mentioned in this guide and elsewhere, can also be opened via the ‘Tools’ menu
Dragging and Docking Windows
To drag a window out, hover the mouse over its Title Bar and Click and Drag. The window will detach from the editor and float freely.

To dock the window simply drag it onto one of the docking icons which appear on the editor when you’re dragging.

Navigating the Viewport
Moving the Camera
The camera can be moved in one of two ways:
• The WASD keys will move the camera relative to it’s current facing direction. Holding down SHIFT while doing this will increase the camera speed.
• Pressing and holding the Middle Mouse Button whilst dragging will move the camera relative to the ground.
Rotating the Camera
The camera can be rotated in two ways: • The Q and E keys will rotate the camera left and right in world space
• Holding ALT and MMB and moving the mouse will free rotate the camera.
Zooming
The camera can be zoomed in and out by scrolling the Middle Mouse Button.
Raising/Lowering the Camera
You can also raise and lower the camera in two ways:
• The C key will raise the camera, while the X key will lower the camera
• Holding SHIFT and MMB while dragging the mouse will make the camera raise or lower.
If, at any point, you get your camera in an awkward position, you can reset it with the ‘r’ key. This will teleport the camera into the sky looking down at the centre of the map.
As a note, Right-Click or Esc are the global Terry shortcuts for ‘Exit Current Behaviour’. whenever you use Right-click it will exit your current mode. Try not to press it accidentally.
Previewing the Map
It’s a good idea to step back and look at the map. There is a toggle mode which can be used to preview how the map might look in game.
If you select the World View, you will be able to see a preview of your map with the environment and vista that you selected. Any debug lines will also be removed.
Objects can still be manipulated in this mode, you just don’t receive as much debug information.
You can click the other item at any point to switch back to Editor Mode view where we hide objects, remove the environment and display debug lines.
Editing the Heightmap
To enter heightmap editing mode, select the Edit Heightmap Option on the toolbar.

The Tool Properties window will now update to show The Terrain Editing view.

1. Section 1 shows the Maps palette; a list of image layers which together make up the terrain for the map.
2. Section 2 shows the Operations panel which defines how your tools interact with the terrain
3. Section 3 shows the Brushes panel which is where you set the shape of your tool
Creating a new Height Layer
Firstly, let’s create a new height layer to work on. • Right click on the map element called ‘Height’ to bring up the context menu
• Select Add Layer
• Give your layer a name which makes sense to you.

Layers are blended together in ascending order. To each layer above will be added onto the layer below.
Creating a brush
Next we’ll add a new brush. • Go down to the Brushes Panel and select, New Round
• You should see a new bush appear on your palette
• In the Brush Properties window, set the following:
o Scale: 150
o Size Jitter Enabled: True
o Size Jitter: 75
o Hardness: 0.25
• This should create a fairly random brush to make some noise in our map.
Adding Some Hills
How we have our layer and our brush, let’s make some noise! • Go to the Operation Panel and select Add
• Now move your mouse into the viewport and start painting away.
• Use the Left Mouse Button to paint.
• To Exit painting, press the Right Mouse button
Holding the SHIFT key will switch you to the Smooth mode where you can smooth down your terrain You can set an absolute height with the Absolute option. Holding ALT and clicking will sample the height at your mouse cursor position and use that. Pressing the [ and ] keys will increase/decrease the scale of the brush.
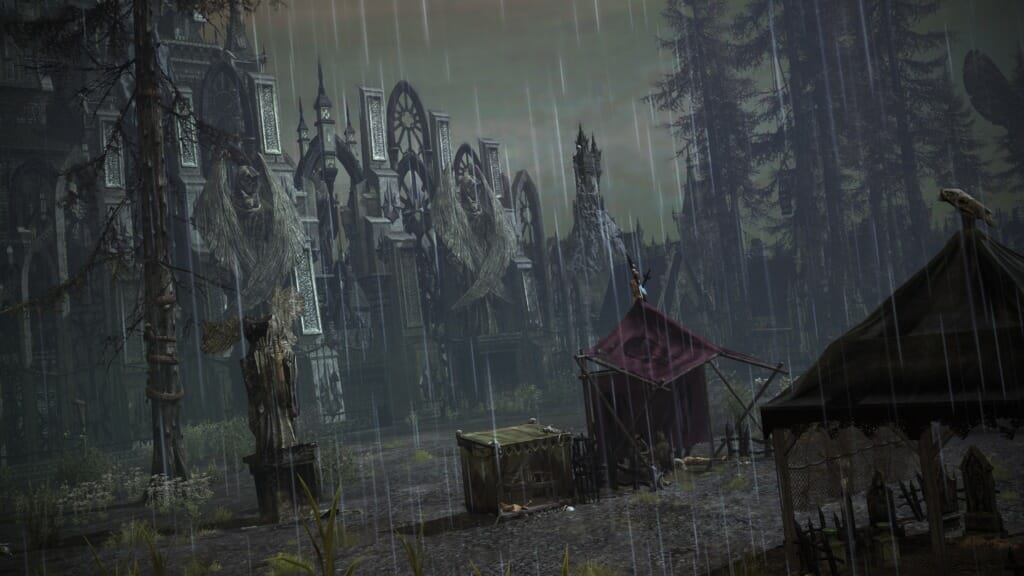
By the time you’ve finished, you should have something that looks a bit like this (hopefully better):

Pressing the H key at any point will change the terrain to show a height overlay (coloured bands). As well as being slightly psychedelic, it’s useful for seeing how the height looks on your map. It’s good practice at this point to make sure you’ve not created any impassable areas in your map. An impassable is generated when the terrain steepness is over 45-degrees. To check this, go to the Settings Panel (View -> Settings), then go to View 3D -> Overlay and scroll down, selecting ‘Land No Gos’. This will render red where there are Impassable areas.
You’ll need to smooth out the terrain in these areas to make them work.
Saving
Saving is a very important part of map creation. Like any tool, Terry does sometime have a moment where it crashes.
To keep your work safe, it’s best to save frequently. There are two ways to do this:
• Ctrl + S will save the map
• File > Save in the File Menu will have the same effect.
You will be asked to give your map a lower-case name and then confirm.
Terry does also have an autosave functionality which can be altered, enabled/disabled in the Settings panel.
Painting
Painting Blendmap
Now, let’s make things less green!
Go to the Basic Toolbar and select Terrain Texture Painting.

This system works almost identically to the Terrain Height editing, except that you’re painting textures. The main interesting feature to note is the Channel property. this defined what textures to use on the map. They’re named by the texture type, not the texture itself.
• In the Brush Properties Window, set the following:
o Flow: 0.25 (I like to keep the opacity low and layer the texture rather than just dropping it down)
o Channel: mud01
• Start painting onto your terrain in the same way as with height painting.
You can hold SHIFT to go into smooth mode and smooth out any edges Pressing ALT and clicking will sample the Blend Map at the cursor position allowing you to quickly swap between.
Once this is done, you should have some nice looking mud textures on your tile.

Painting Vegetation
Now for the fun part. Let’s paint some Trees!
When you paint Vegetation is this way, you’re not just painting texture, you’re defining which areas of the map the game treats like forest, as well as an area where trees will be dynamically generated.
Forest only works if the sum opacity of the Forest texture is greater than 60%
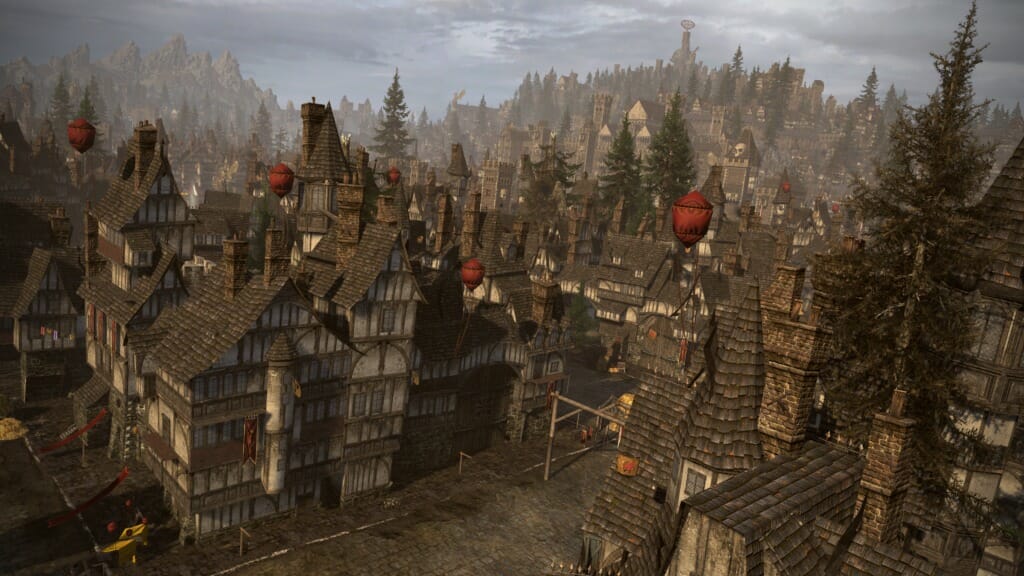
In the image below, you can see the blendmap painted at three different Opacities. Note how the density of the trees lowers depending on the opacity.

You may have noticed in the previous step that you can also do this from the Blend Map Mode. Since we use forest so much we added a separate button to make it more accessible.
Let’s get to it!
• Go to the Basic Toolbar and select Terrain Forest Painting. This will select the Blend Map Painting mode, do not be afraid.

• Make sure your opacity is greater than 60%
• Start Painting
Remember that forest doesn’t always exist in one big lump, there are paths, clearings and differing densities within.
• You may notice that the tree don’t appear straight away. This is because they’re being generated on the fly whenever you make a chance. while this is happening you should see the following in the bottom right hand side of your screen:

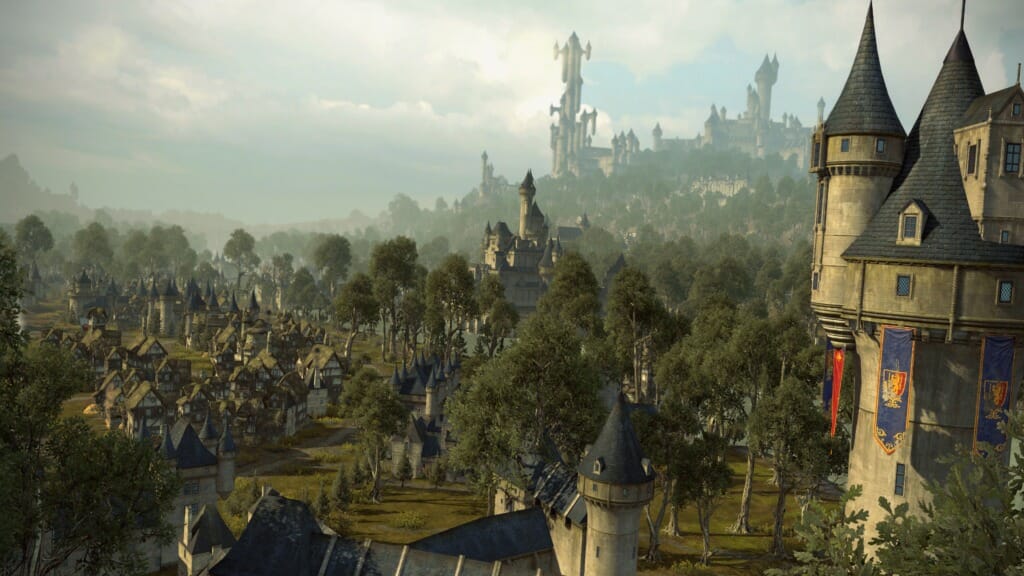
All being well, you should end up with some forest on your map:

Placing Buildings, Props and Prefabs
Buildings and Props are terms we use for 3D models placed into the map. The main difference between them is that a prop is purely a rendered mesh, nothing more, while a Building has Collision, sometime Destruction and potentially a No-Go Region as well.
Prefabs
A Prefab is a collection of objects (Buildings, Prefabs, Decals, etc), pre-grouped for easy reuse.
Let’s place some down.
• Go to, or open the Entity Creation (Visual) toolbar, and select Prefab

• Your Tool Properties window should now show.

o You can use this window to select a prefab or use the search box at the bottom to filter the list.
o The top section defines various properties which can be passed to any placed Prefab.
• I’m going to place a giant Mushroom cluster, because I can.

When placing any entity in these modes you can use the [ and ] keys to scale and holding Ctrl while moving the mouse will allow you to rotate.
Props/Buildings
These are placed in much the same way as prefabs. The main thing to remember is the different between the two types.
• Props – A prop is a mesh with no other logic applied to it, i.e. no collision, destruction, etc.
• Building – A Building is a group of props which can have logic applied, such as collision, destruction, etc.
Making a Lake
Water is one of the more tricky things to get when making a map, but the process is simple when you know how.
Firstly, a note on water and its gameplay effects:
• Water with a depth below 0.5m is Shallow Water – this can be moved through by units (with a penalty).
• Water with a depth greater than 0.5m will be considered Deep Water. This is impassable.
So, the first thing to do is get a water plane. This is actually a prop which is added to a map.
• Go to the Prop mode.

• In the filter box, type ‘water_plane’.
• You should get one of two assets (ignore the others)
o glb_water_plane_300x_piece01_destruct01
o glb_water_plane_15x_piece01_destruct_01
• Select the number you consider lucky and make sure that the ‘Surface Oriented’ flag is disabled in your Tool Properties.
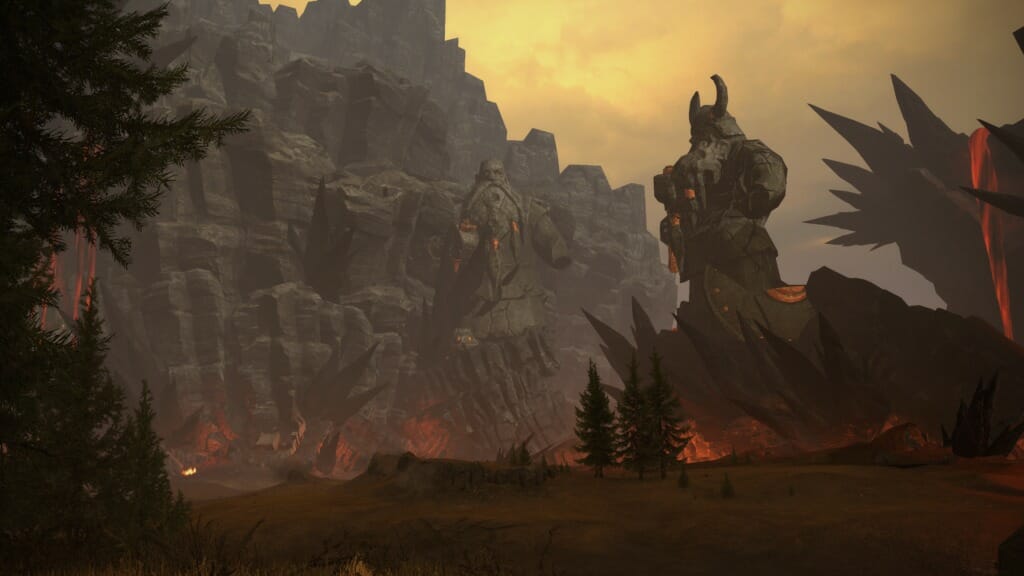
• You should get something like this:

o you can scale it as much as you want as it’s a shader material applied to the prop.
• Then it’s recommended you carve out your terrain to make a pond/lake.
• Feel free to add decorative statuary at your discretion.

Previewing the Map
At this point, it’s a good idea to step back and look at the map.
There is a toggle mode which can be used to preview how the map might look in game.

If you select the World View, you will be able to see a preview of your map with the environment and vista that you selected. Any debug lines will also be removed.

You can click the other item at any point to switch back to Editor Mode view where we hide objects, remove the environment and display debug lines.


Creating Zones
Creating A Playable Area
The Playable Area defines the space within the map where the player and the AI are able to give movement orders. It also defines the location that units rout and reinforce from. It’s also the bounds of the radar.
You can skip this step if you wish.
If no playable area is in the map the game will either set the Playable Area between 800-1300m (depending on number of units), or will fit the Deployment Zones within- Whichever is larger.
• To create a playable area, select the appropriate option from the Entity Creation (Logical) toolbar

• When your mouse returns to the viewport, you should see a small square under the mouse cursor.

• Your first Left-Click will place the first point.
• Your second Left-Click will place the second point and finish the Playable Area.

Creating A No-Go
No-gos are a way of allowing map creators to mark areas of their maps which they want to make impassable to units. They are closed polygonal objects (many sided) which are placed within Terry (or within a prefab).
To place one:
• Go to the Entity Creation (logical) toolbar and select ‘No-Go Region’

• Place your first point with left-click

• Then continue clicking to make the no-go zone
• When you get to the last point, simply place it on-top of your first point to close the polyline. (The white handles should disappear)

Creating A Hill AI Hint
Hill AI Hints are a way of level designers telling the AI where the important defensive positions are on a map.
If a Defending AI army finds a hill hint within 80m of its deployment zone it will attempt to move to and hold that Defensive Hill. The position the AI will defend is the edges of the Hill Hint.
Placing one is simple:
• First go to Entity Creation (Logical) and select AI Hint

• In the Tool Properties window you’ll see that you can set the type. Leave it as defensive hill for now.

• Now find a suitable hill to place your hint upon.
• Like a No-Go zone, the first left-click places the first point.

• Then consequent left-clicks will place more points.
• Close the hill hint by placing a point on the first one.

AI Hill hints (unlike other AI hints) must be ‘closed’ (i.e. connect back up to the first point). If they don’t they will probably crash.
Creating Deployment Zones
Deployment Zones allow you to select where your armies will spawn when the map starts.
You can skip this step if you wish.
If no deployment zones are found in the map, the game will load a default set in the battle based on the Playable Area size.
This one’s a little more complex than the previous examples.
• Go to Entity Creation (Logical) and select ‘Deployment Zone’

• You Tools Properties will come up with a number of options.

o The shape type defines what shape the Deployment Zone Region will be.
o The facing direction can help define which way armies face if they don’t have a ‘Default Deployment’ AI Hint in their Deployment Zone.
o Zone ID is unused unless authoring Quest Battles – Keep it at zero.
o Alliance ID defines which ‘alliance’ it belongs to.
0 = Attacker – Red
1 = Defender – Blue
• Lets start with the Attacker.
• Set your ‘Shape’ to be Polygon in the Tools Properties window
• Left Click in the viewport to place the first point.
o Attacker zone is shown in red

• Continue placing points until you’ve made a shape to deploy in.
• ‘Close’ the deployment zone by clicking on the first point.
o It should snap to it.
• Now set your alliance ID to 1 in the Tool Properties panel.
• Repeat the previous step for the defender.
o Defender zones defaults to blue.
Now, while this is unnecessary, it’s useful to be able to create new Regions within a deployment zone. Imagine a Deployment Zone as a collection of regions, and shapes which are used by the alliance. When you load battles, only two deployment zones are ever used.
• Firstly, select your attacker deployment zone in the hierarchy.
• If you click the small arrow next to it, you’ll expand it

• We’ll see that there is one additive deployment zone within it.
• Let’s add a Subtractive one to see what it’ll do.
• Select the Deployment Zone and the Deployment Zone Region Button should become selectable

• In the Tool Properties panel, change the Region Type to subtractive

• Place the Region in the same was as you did the initial Deployment Zone. • In the below example, I’ve carved out the area with the mushroom field. As the Deployment Zone Region is subtractive, the attacker will not be able to deploy here.

• If you’ve done it correctly, you’ll see the Deployment Zone Region as a child of the Deployment Zone in the Scene Hierarchy.
Exporting and Testing
Exporting
Now our map is ship-shape, we can export it to the game.
• This is a very simple process of clicking the Export Map button in the Basic toollbar (default shortcut Ctrl + P)

• When you use this option you will be presented with the following panel:

• Fill in the data as much as you can.
• Hit OK
• You should get a toaster popping up on the bottom right of your screen

• When it’s finished, your map is ready to play!
If for any reason, your export fails. There’s a small icon in the bottom right of the editor called the Last Export Status
Clicking on this button will fill you in on why is didn’t work. If the information is vague, go on the forums and ask the modders.
Testing your map
Once your map has been successfully processed, you’re ready to try it in-game.
• Load the Total War launcher
• Select Manage Mods
• You’ll see your mod in the mod list.
• It’ll say that it’s out of date, but it’s just to let you know that it’s local.
• Enable out of date mods in the launcher.
• Tick the box to enable your mod.
• Load the Game
• In the Custom Battle menu, select Land Battle.
• Scroll down the list until you find your map.
• Enjoy
Related Posts